Multi-Factor Authentication (MFA) is an essential security feature that adds an extra layer of protection to your Microsoft 365 account. By enabling MFA, you’ll be required to provide an additional form of identification beyond your username and password. This means that even if someone gains access to your login credentials, they won’t be able to access your account without the additional authentication.
Here's a step-by-step guide on how to set up MFA for Microsoft 365:
Go to aka.ms/mfasetup, or if your tenant has security defaults enabled, click “Next” to launch the setup process for MFA.
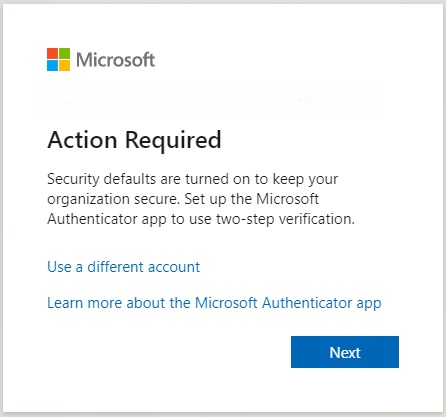

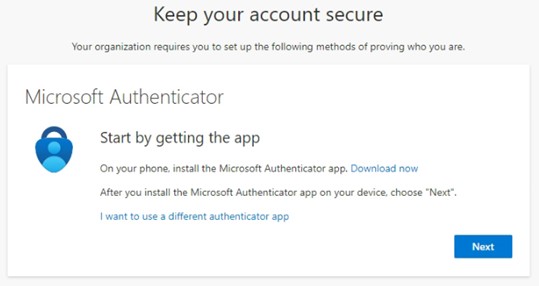
2. Choose between using the Microsoft Authenticator app or another authenticator app, such as Google Authenticator. If you are already using an authenticator, we suggest you use that. If you want to use another authenticator app, click “I want to use a different authenticator app”. If you don’t have an existing authenticator app and want to use the Microsoft Authenticator app, then go to your app store and search for the Microsoft Authenticator App and install it. Click “Next” on the screen.
App links:
Hot Tip
Make sure you check the publisher of any app you are installing on your phone so you can ensure you are installing the correct one.
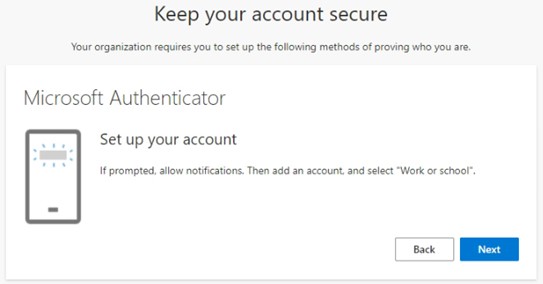
3. On the Microsoft Authenticator app, if prompted, allow notifications. Then tap add an account and select “Work and School”. If you are using a different authenticator, add an account how you normally would.
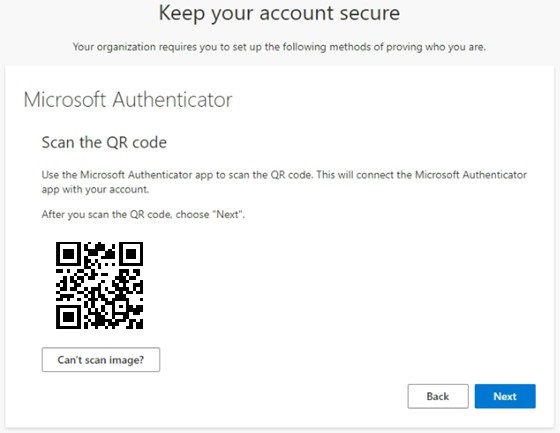
4. Scan the account setup code, and once setup, click “Next”.
5.Once your account is set up, accept the push notification on your phone if you’re using the Microsoft Authenticator app, or enter the 6-digit code generated by your authenticator app.


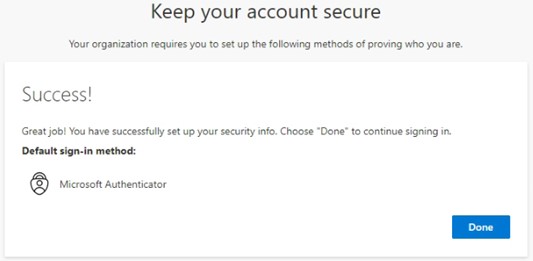
6. Your account is now protected by MFA.
Contact us for expert support
Enabling MFA is a critical step in securing your Microsoft 365 account. However, if you’re having trouble setting it up, our expert technicians can assist you. Contact us directly on (02) 6771 4072 for support.


